As a film-making professional, film noir is one of my personal favourite lighting styles. It originates from a lighting style of the 1930-40s as seen in American feature films of the period. It is unnatural, moody, glamorous, and typically extremely high in contrast. Carol Reed’s The Third Man, and Orson Welles’ A Touch of Evil are two of my personal favourite films from this period.
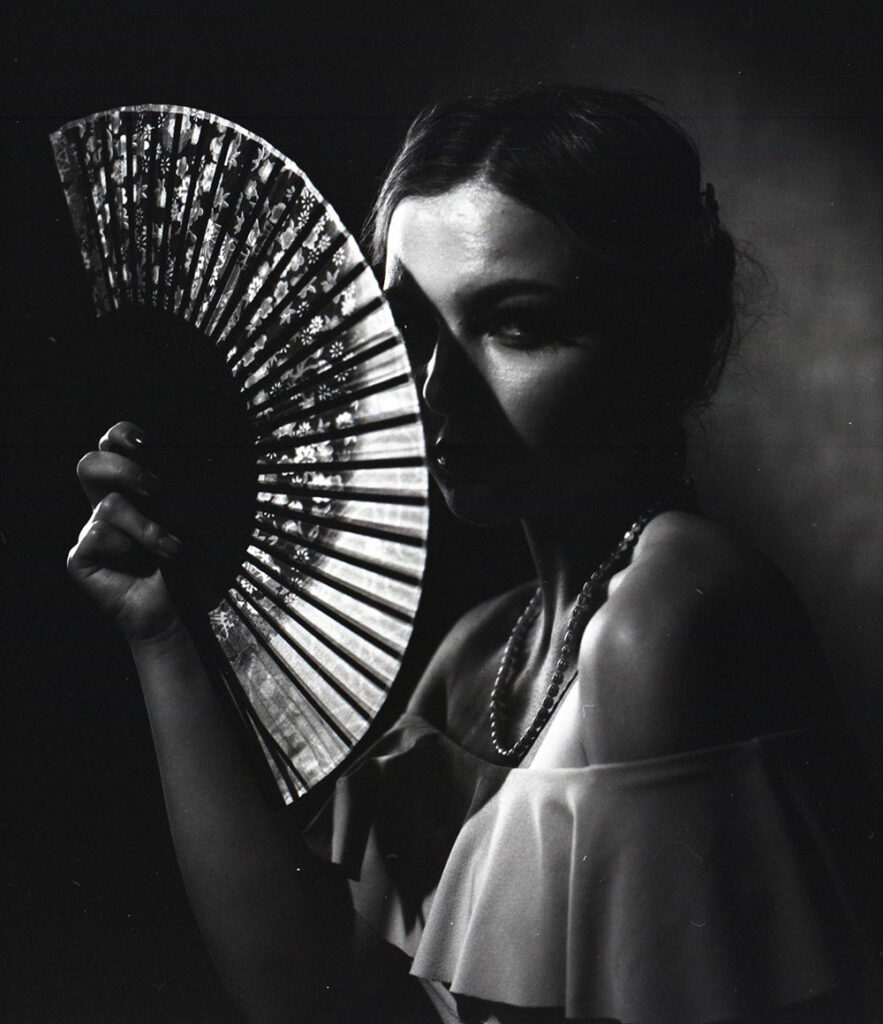
One of the most enjoyable aspects of film noir lighting is that it has no rules, and begs the videographer or cinematographer to experiment and use techniques and lighting positions never used in other styles of lighting. I worked model Amelia Molly to capture these film noir examples:
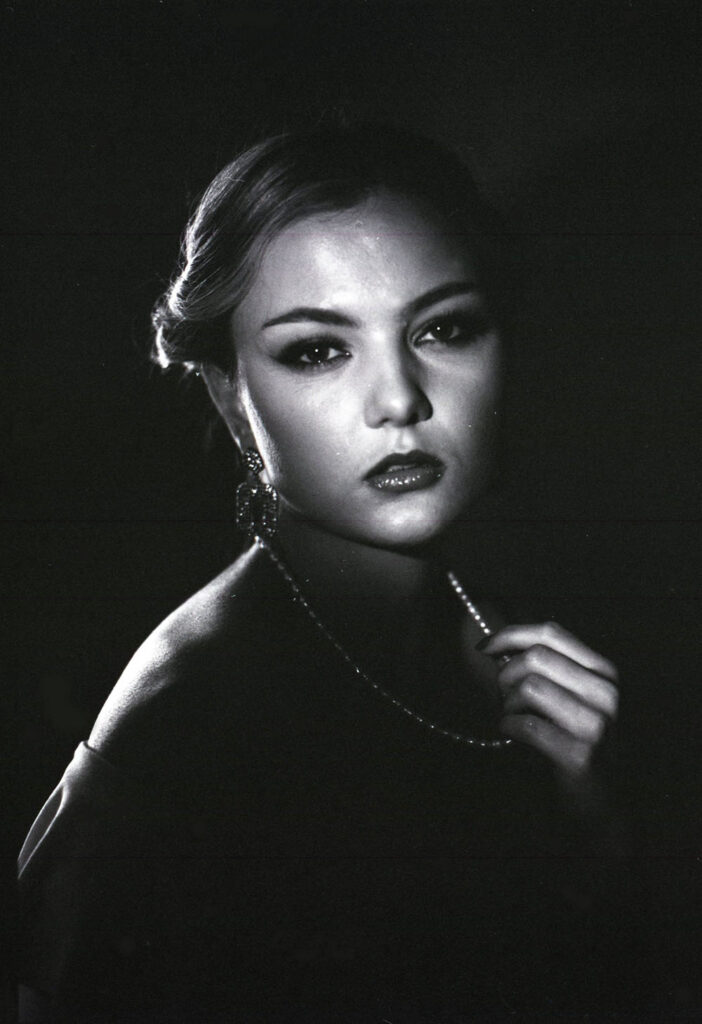
The film noir lighting style in the modern era can be seen in colour neo-noir films to this day. LA Confidential, Blade Runner, and Sin City are all great examples of neo-noir, and prove that noir also works amazingly well with colour.
1) Lighting with a Single Light Source
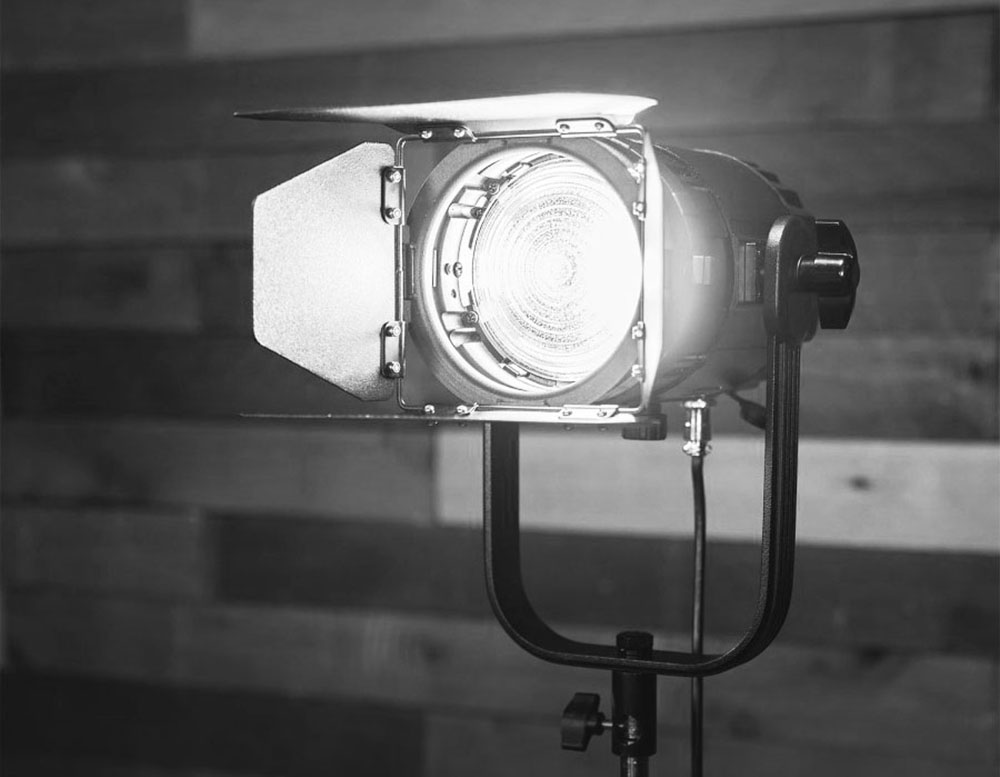
A quick and simple way to create the film noir look is to position one light source behind the subject at a 45 degree angle to the left or right, and at 45 degree angle downward. This is called ¾ back key lighting, as the key or main light comes from behind the subject from one side.
It is often not necessary to diffuse a ¾ back key light, however it may be preferable to use a very light diffusion when using this technique. ¾ back key lighting tends to work better with male subjects or still life subjects rather than female subjects. A female subject would most likely require a fill lighting source or fill bounce board.
2) Using Top Lighting for Moody Silhouettes
Another simple but very effective type of film noir lighting is top lighting. In top lighting, the light source originates from on top of the subject. You will need a lighting stand with a boom, c-stand with arm, or studio lighting grid to accomplish this lighting position. In top lighting, it is most ideal that the lighting source be positioned so that it hits the subject at a ninety-degree angle straight downward.
This method of lighting is great for creating silhouettes, moody lighting, and making your subject look powerful and evil. It is typical that top lighting requires a small amount of fill light, as the subject’s face will be in shadow, with heavy shadows under the eyes. Once again, the fill light source could be a bounce board, or a separate lighting source.
3) Butterfly Lighting with Heavy Diffusion
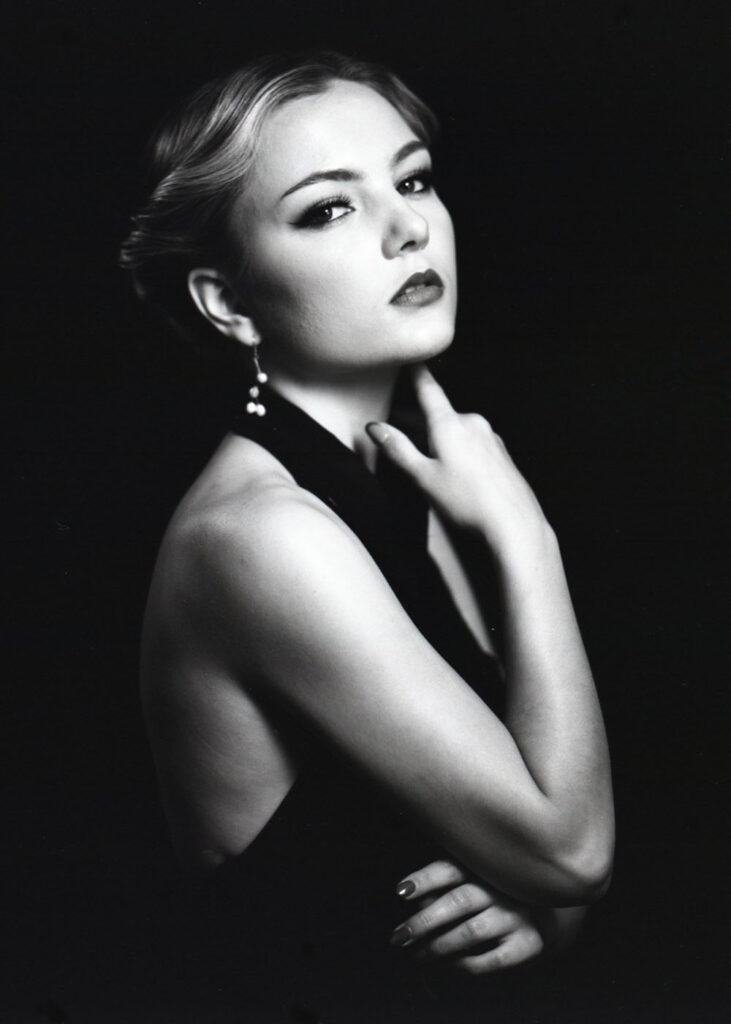
A great film noir lighting technique to use with female subjects is butterfly lighting. Butterfly lighting involves simply lighting your female subject with a light source at ninety degrees straight on. The height of the source is recommended to be just above the subject’s head with a very slight tip down.
It is recommended to diffuse your butterfly light with a small piece of heavy diffusion (therefore it is a heavily diffused small source). This form of lighting truly makes a woman look glamorous, and nicely hides any facial blemishes.
4) Classic Emotion with Eye Light
Another great technique from film noir style is an eye light. An eye light is simply a light source or bounce that aids in helping the subjects eyes to stand out. One common issue with portrait photography is dark dead looking eyes (see below).
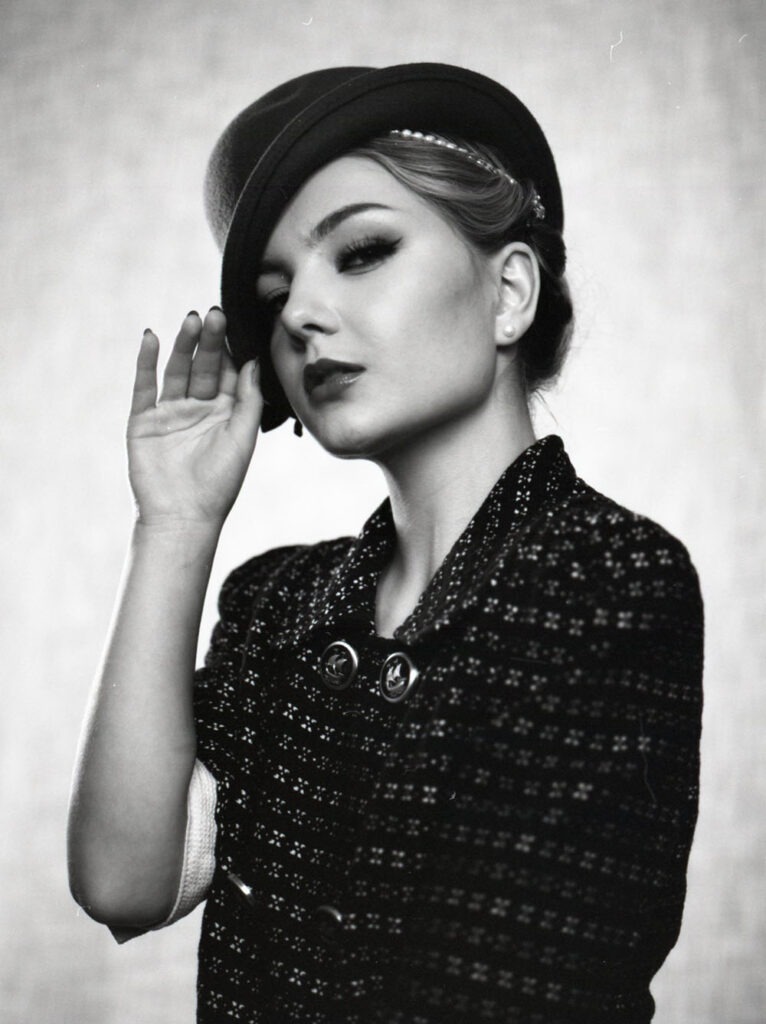
This can simply be corrected by placing a bounce in close proximity to the subject, as you will see the bounce reflected as a pleasing gleam in the subject’s eyes. If you do not want additional bounced fill light by using a bounce to create an eye light, simply add an artificial lighting source of your choice as an eye light. Use your artificial lighting fixture to target only a small portion of the subject’s face to create an eye light.
The recommended technique to create an eye light is to light the subject with a very heavily diffused slash of light across both of the subject’s eyes. In effect without diffusion, this would give them a noticeable white slash of light across their eyes only.
5) Use Light to Paint the Set with Patterns
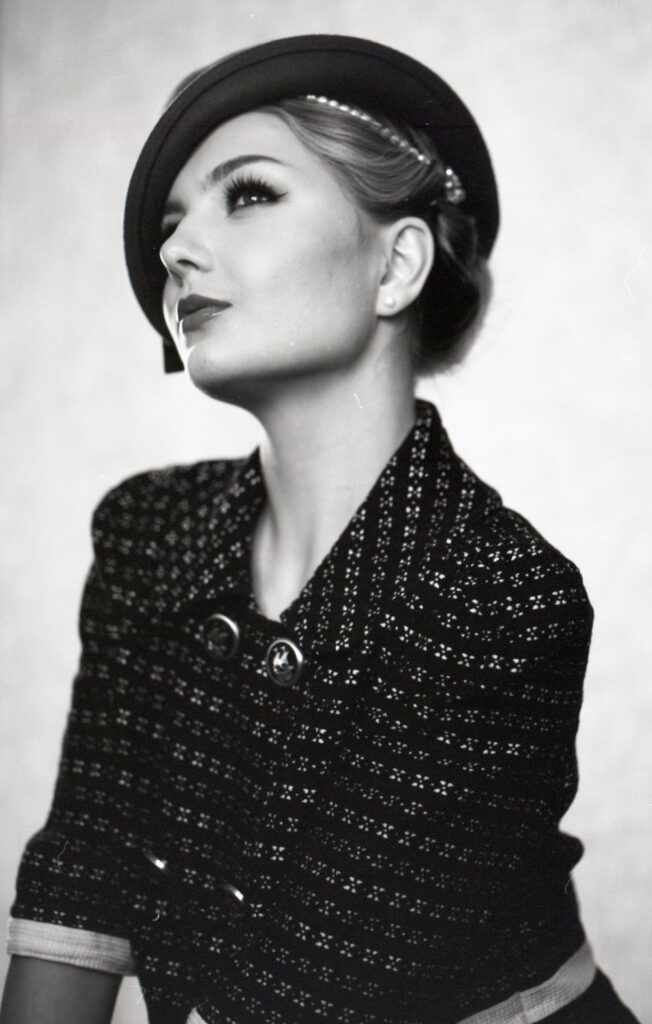
Lastly, in all noir lighting it is extremely important to use the environment in which you are shooting to aid your lighting motivation. For example, lighting through venetian blinds, a door frame, a gate, or a fence can create wonderful patterns. You can even purchase an affordable and portable small set of venetian blinds for use in the field.
On the other end of the lighting spectrum is low-contrast soft lighting. Soft lighting is what most professional videographers tend to use when taking the majority of photographs, as it is simple, quick, affordable, and is typically very flattering.
The videographer could potentially use one large soft lighting source, or multiple soft sources. These sources could consist of light sources with diffusion, light sources with softboxes, or shooting with soft ambient window light indoors.
Affordable Equipment to Create Emotive Lighting
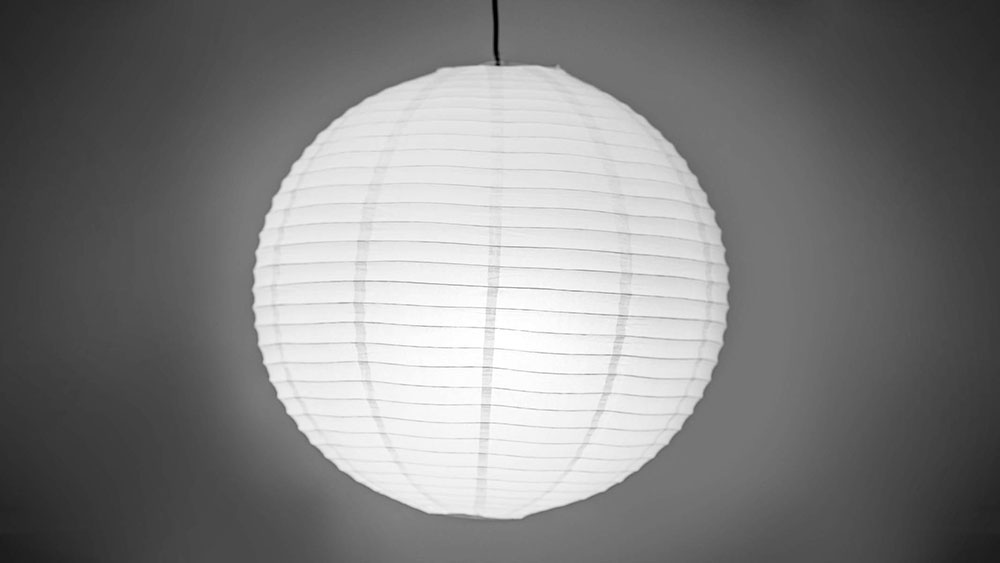
Affordable ways of creating soft light include softboxes, Chinese lanterns, large bounce boards, and other large diffused sources. Affordable diffusion and bounce materials such as Muslin (white bed sheets), and Hi-Lite (frosted shower curtain), Korolite (white Styrofoam), and show card (white matte board) can help create stunningly soft lighting sources.
Painter’s tape can help attach the bounce board, fabric, or diffusion material to walls or stands without potential surface damage. As we covered with 3-point lighting in Introduction to Lighting, it is always best to set any light we use (unless butterfly) at a downward angle of approximately 45 degrees. A soft light is no exception, and should be set in a matter so it creates a small amount of contrast by creating appropriate shadows for the shot.
Book Light Lighting
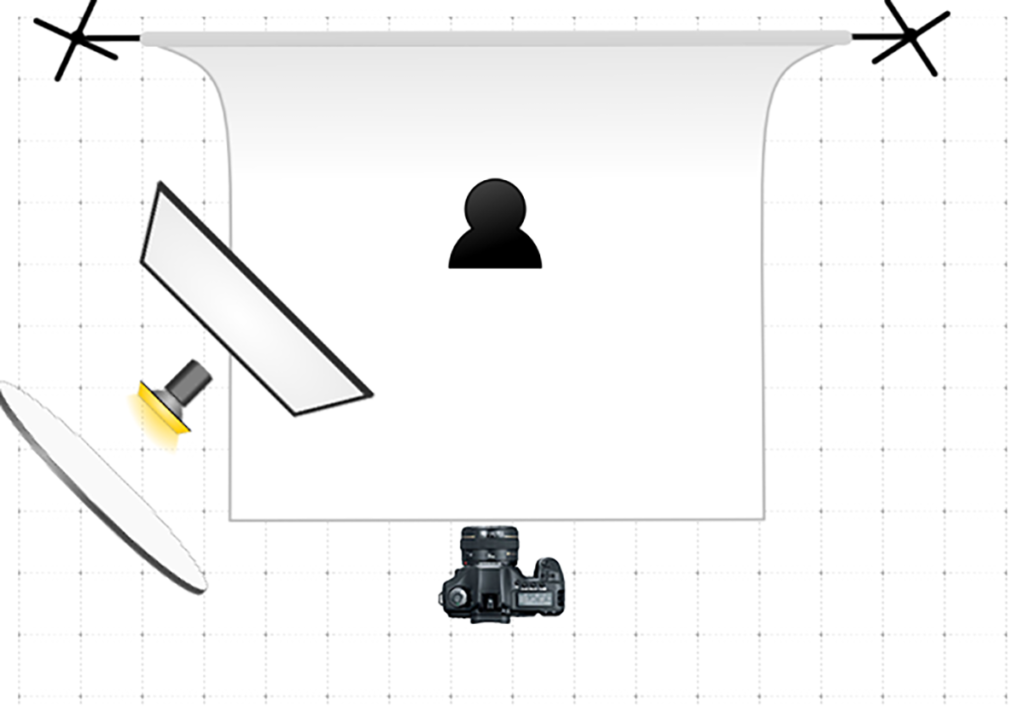
The book light technique is a wonderful way to create an extremely natural looking soft source. A book light combines a light source, bounce, and diffusion all in one large light set-up. The light produced by this is virtually shadow less, and extremely soft. It replicates natural light very effectively, and can be seamlessly combined with natural light or other studio lights.
Typically when creating a book light, a piece of muslin or Styrofoam is used as bounce material, and muslin, Hi-Lite or commercially produced diffusion is used as the diffusion material. One drawback to a book light, is that you will lose a lot of light intensity from your lighting source, as it is being both diffused and bounced.
We must ensure that even though we are using soft light, we take the time to set our lighting sources correctly. Every lighting subject and every person that we light deserves unique attention.
Pro Tip: Avoid The Most Common Lighting Mistake
A super common mistake made with soft lighting is to use the same lighting set-up with different subjects. It does not take 10 seconds to move a light, adjust intensity, or diffuse a light to ensure that our subject is lit correctly. Taking the time to adjust our soft lighting will make our videos much better, and always ensure that our customers are satisfied with the results.
In Summary
When using any form of soft light, it is extremely important to clean up any unwanted soft spill light. Although soft light looks wonderful, we must be careful not to let the light spill onto unwanted areas of the frame.
These can include the background, different areas of the subject that we do not wish to highlight, and parts of the frame we do not wish to draw attention to. An example for each would include lighting an ugly or wrinkled background, lighting a subject’s face less than their body, or lighting up busy or ugly clutter behind the subject.
I hope you’ve enjoyed my exposé – if you've enjoyed this, you may enjoy Lighting 101: Intro Guide to Vidoe and Film Lighting too. Let me know how you’ve made use of film noir, and comment or offer suggestions in the comments below.

