You just got approval to start on your animated video project and you’re asking yourself, “What do I do now?” Well, first-off, you should totally celebrate! An animated video is a great way to build up branded content and tell your company’s story in a new and excited way.
Plus, it’s a fun process!
Here are our seven steps for creating a great animated video.
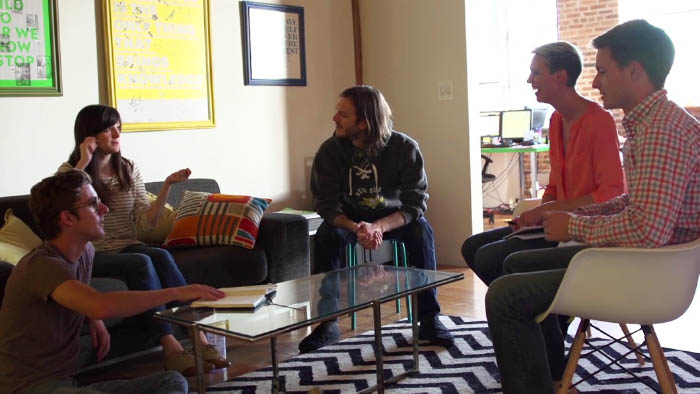
(Image Source: Creating a Concept for Your Explainer Video)
1. Concept
The concept is the story. Without a strong storyline, the visuals won’t have any impact and won’t meet your business goals.
This phase includes the Creative Brief — a questionnaire that the clients fills out. Here the video production company finds out about goals, branding, unique selling points, benefits, and non-negotiables (items or topics that cannot be cut). This is the fuel to the brainstorm where the concept is born.
At Demo Duck, we take our creative brainstorms very seriously because it sets the framework, tone, and strategy for the video. They’re also a moment to have fun with ideas and get a little playful — which might sound like we’re screwing around, but this gives the team an opportunity to change perspectives and develop bold ideas.
Once this step is complete, a couple of concepts are pitched to the client. Once the winner is selected, onto the script!
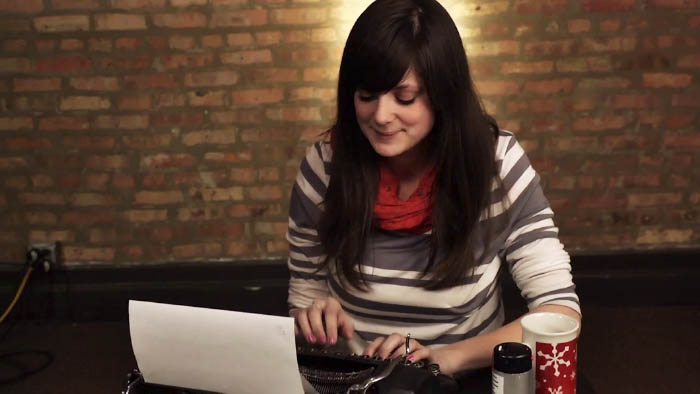
(Image Source: 5 Quick Tips For Writing A Great Explainer Script)
2. Script
This is where the message is developed. Characteristics of a strong script are concise and casual language, staying on point, and having a strong call to action. Without a call-to-action, your video ROI will be difficult to measure.
Typically this step only takes about 3-5 days and from there it’s open up for revisions. A big benefit of having an outsider write your video script is that it’s a new perspective. Heck, your producer could also be your customer, and a great script always keeps the audience in mind.

(Image Source: The Animation Process)
3. Storyboard
Here is where you start to see the visuals. After a concept and script are approved by the client, we draft up frame-by-frame the look of your video. Here is where you can see the beginnings of design and how the story progresses.
It’s important to remember that at this phase that everything is sketched out. This makes it easier for us to incorporate your feedback and keep things moving along.
4. Style
The reason why we create each video from scratch is because each video should be unique to your business and accurately reflect your brand. A style frame is a single, full-color frame that reflects the final aesthetic of your video. They might include text, icons, backgrounds, characters, or more.
An easy way to think of a style frame is your video without motion. Here is an example of what we mean:
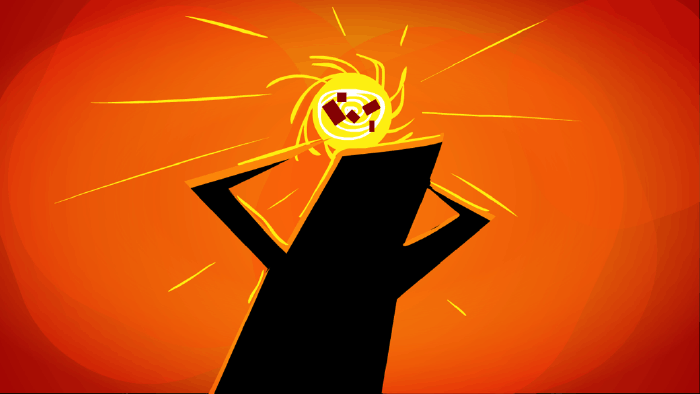
(Image Source: The Animation Process)
Since an animated video requires both a designer and an animator (sometimes creatives specialize in both), it best to start with design, approve it and then move onto animation. That way if you find that you would prefer your dog character to be a cat, we can make the change before sending it over to the animator.
5. Voiceover
The voiceover. It may seem like a small part of the video in comparison to the design and animation, but it carries a lot of weight. It’s important because you need to find the right voice for you and your company. There isn’t a one-size-fits-all voice, it’s all about finding the right tone to match your brand.
We find there are three basic tones to use: Excited, Dramatic, and Neutral. Your story and brand voice will help influence the tone. Are you launching a product and trying to build up awareness? You may want to find an excited voice to pump up your viewers. Or is your product or service a solution to a major problem? Using Drama can help build things up. Lastly, if you find that you need a simple video that explains a certain topic pretty extensively, a neutral tone can reduce distraction so your audience can get the full meaning of your message.

(Image Source: Why Complexity in Animation Doesn’t Always Equal Creativity)
6. Animation
This is where the meat of the project is — adding motion to your video. This phase can take about 2-3 weeks but it’s important because every frame is carefully timed to make sure things are transitioning smoothly and any characters look lifelike (not robotic or awkward).
There are two types of scene transitions in animation. The first is when you let the computer create in-between frames (or in the biz, we refer to as “tweening”). This allows for effortless motion between scenes.
The other is traditional cell animation (think of old school illustrations such as Looney Toons). This is the preferred method when a video has a lot of characters in it. When a character moves across the screen, the animator needs to think about how their legs, arms, and torso move together. Because of this high complexity, it's done by hand and takes much longer, but it’s worth it! Accurate motion is required for making your viewers feel connected to your characters.
(Image Source: How To License Music for Your Video)
7. Sound Design
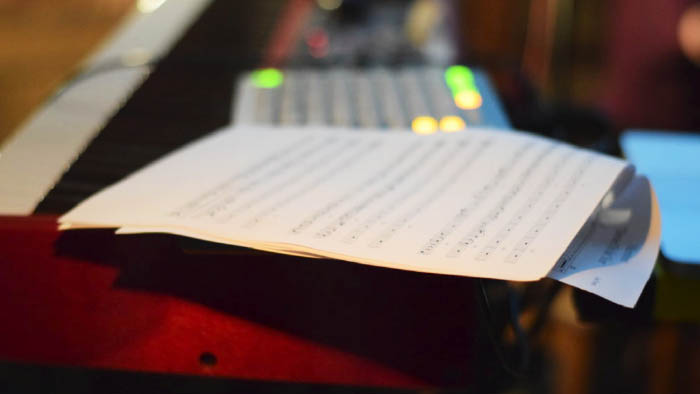
The final stage is adding sound. This can be anywhere from adding a song (our friends over at Marmoset have great tips on music licensing) to just sound effects.
Sound effects can make a big difference for your video. They can spice up an otherwise mundane scene or can call attention to a certain section. With the information from the Creative Brief, your producer will know what action you’re hoping your viewers take and make sure the sound design helps highlight it.
Wrap Up
It might seem like a lot at first, but every step in the process is important in telling your story. Just remember that if you have a solid foundation in your creative brief, animation, design, and sound are just icing on the cake.
If you’re interested in learning more, check out Demo Duck’s animation process.
Also feel free to add questions or comments or tweet us!


