A solid follow up to ‘Top Reasons to use a DSLR Camera for Video' article, below is a solid list of recommended must-haves for the serious and semi-serious up and coming video producers. As video is a part of everyone's marketing strategy for the foreseeable future, take a seat, and read on to see what the top DSLR is to own.
1. Have a Variety of High-Quality Camera Lenses
So now you’ve got your shiny DSLR (digital single-lens-reflex camera) camera body, or a mirrorless camera (like a DSLR, just more compact) such as the incredible-value 4K capable-camera Panasonic GH4, the first main accessory to purchase is a lens.
Or two. Or three.
A camera body can't do anything useful without a lens – it's just a sensor and recorder, essentially. The lens actually created the image. There are two main types of lens for mirror-less or DSLR camera body, zoom lenes and prime lenses. Zoom lenses do as the name suggest and allow the user to ‘zoom in and out' from a fixed position.
The benefit of the zoom is flexibility – you can adjust the image immediately by zooming as need be. There are draw backs though – zooms tend to not be able to shoot in low-light situations as well as Prime lenses and might not be as sharp.
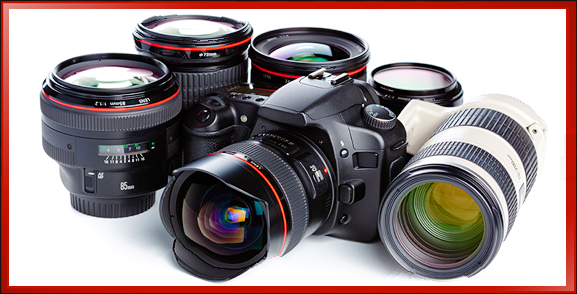
Prime lenses are fixed width lenses and don’t allow any zooming in or out. Both can come in extremely wide or extremely long telephoto ranges. Primes tend to be extremely good at their job of letting in a lot of light and are sharp, but of course, they cannot zoom.
You may be wondering what advantages a prime lens could bring when you could have one that zooms over a number of different focal distances? Well generally speaking zoom lenses are great for daylight and well
lit scenes but aren’t always great with low light. But a Prime lens is key for the professional.
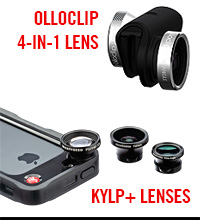
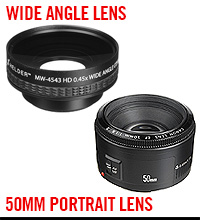
First off, the staple lens of any DSLR shooter is a 50mm F1.8 lens – every camera kit needs this lens, be you a Nikon or Canon user. The equivalent mirrorless lens for the Panasonic GH4 or Blackmagic 4K shooter would be a 20mm F1.7 Prime Lens (for the micro four-thirds camera systems).
As mentioned, Prime lenses often tend to have bigger apertures and can let in more light, therefore performing much better in any night time or low light scenarios. No lights needed, if the situation is forgiving enough – a real lifesaver, depending on the kind of work you do.
 |
 |
 |
|
|
|
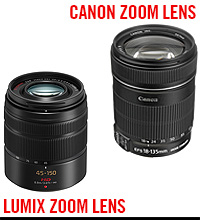
A zoom is great to have as well. Used with the Canon 5D camera, a basic lens kit is comprised of a 24-105mm Zoom – perfect for daytime and well lit scenes, and a 50mm lens with a greater aperture – allowing much more light in when I shoot in darker environments.
I’d highly recommend a good combination of both types of lenses to ensure best coverage in all scenarios.
You might also like:
- Tiffen Circular Polarizing Filter
- UV Filter
- Hoya Neutral Density Filter
- LUMIX G 20mm f/1.7 II ASPH. Lens
2. Own a Professional-Level Tripod Kit (Head & Legs)
What's the fastest way to increase production value?
A good sturdy tripod is essential for achieving wobble free shots = instantly professional.
Being designed primarily a photography camera, the majority of tripods marketed for DSLR users aren’t best optimized for video use. Some are light and very inexpensive, but you have to remember that you’re going to be shooting 24/25/60fps video and not individual still frames.
So avoid the still-photo specific tripods – they simply won't work for motion video.
A super cheap and lightweight inexpensive tripod may sound extremely appealing, but you have to think practically – these are designed for stills not video, and the last thing you want is the camera blowing over half way through a shot.
 |
 |
 |
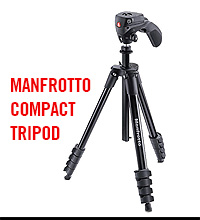
|
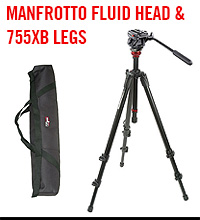
|
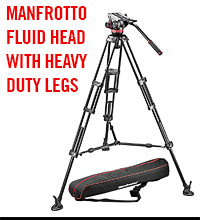
|
| The Manfrotto Compact Action tripod that offers smooth pan and tilt functions. Be sure to get a smartphone or tablet mount if shooting with those devices. | This is a portable, high quality tripod. It will work with smartphones and high-end production cameras. Great bag too! | Heavy duty tripod. It can handle a light-weight “backpacker crane” jib system! Included spreader with the legs also supports more weight. |
| Weight: 921g Minimum Height: 36cm Maximum Height: 131cm Payload (Camera): 1.5kg |
Weight: 3.4kg Minimum Height: 41cm Maximum Height: 140cm Payload (Camera): 5kg |
Weight: 3.1kg Minimum Height: 67cm Maximum Height: 154cm Payload (Camera): 5kg |
A tripod must be able to withstand the weight of a heavier camera, and pan/tilt without jerking and getting stuck – a constant battle with cheaper tripods. Even if you use your iPhone on a tripod like this, panning and tilting smoothly will be unprofessional, and even just standing still, the tripod may show shake if someone walks past while the camera is filming! Not ideal.
Features that Make Up a Good Tripod
There are a few key tripod features to look out for which particularly benefit video shooters.
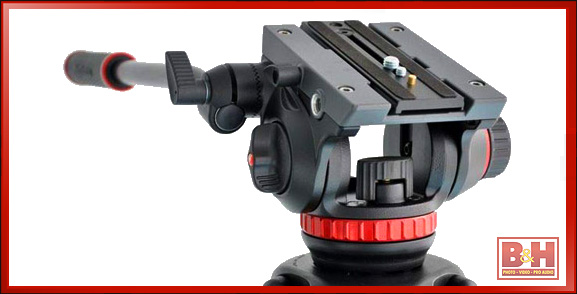
Select tripods ‘legs' with adjustable pan handles that are paired with a ‘fluid head'.
‘Fluid Head', as stated on Wikipedia:
…The fluid reduces the risk of the camera operator introducing any jerkiness or vibration to the shot during a pan or tilt through dampening, and also reduces the friction between moving parts of the head…
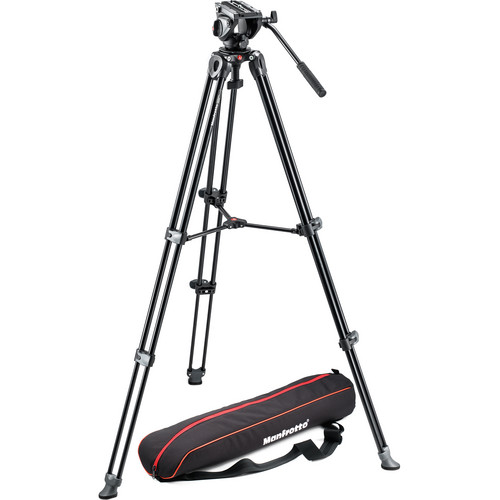 This will enable you to easily pan the camera up, down, left and right smoothly. The most popular – and best value – DSLR video tripod head is the Manfrotto Fluid Ball Head and Spreaders Tripod Set head with it's fluid action.. smooth, and will last a lifetime. Not only does it have an easy-to-level ball head, it comes with a carrying case!
And looks very professional – which often impresses clients. Oh, and it's the best value tripod I can find.
Also, as with most real-deal higher-quality tripods, the head comes with a quick release baseplate that stays on the bottom of the camera. This is ideal as it screws into the bottom of your camera for extra security, and can easily be taken on or off of the tripod in case you suddenly need to switch to hand held during a shoot.
While the Manfrotto tripod has one, if you do not have this, a simple simple bubble level is another great feature to have as this gives you an accurate indication of whether your tripod (and ultimately your shot) is flat and level or not.
While you can purchase a level separately, again, good quality tripod legs and/or heads will come with built in levels.
Also available are monopod, which as the name suggests have 1 main leg instead of 3. These are great for getting into tight spaces which would be trouble for a tripod, inexpensive, and easily collapse to fit into your bag. However, monopods are primarily designed with photographers in mind, and practically should only be used when shooting short video clips or if you're packing extra light and may need something to help stabilize a shot.
(Note: Spiked feet aren’t essential but are a great help when filming in outdoor, wet or adverse conditions – you can pick the legs that go with your tripod for this.)
The BEST Tripod for DSLR Video Use
Simple: The most popular, for good reason, video DSLR tripod is the Manfrotto MVH500 Kit as is the best value for DSLR video shooters and an industry staple.
You can't go wrong – the Manfrotto tripods are are plenty sturdy, smooth, durable – it's where it's at.
If you want to spend a bit more, and get a kit with legs that offer more height, there are options. Really, you can really go full out with tripod choices – there are wide variety of heads and tripod legs to fit a camera operators needs. For only about $100 more: The Manfrotto Tripod Kit with Telescoping Column is another favourite – this tripod has the same fluid head, but it also allows for more vertical height – and while it's a bit more expensive, that's a positive – it'll help make your shots great!
You really can't go wrong with either Manfrotto tripod (i've personally bought 4 Manfrotto tripods myself) – if you're shooting with a DSLR video camera, they're already light weight, so I'd recommend the telescoping column tripod as it gives you a bit more height which can certainly come in handy on occasion!
You might also like:
- ‘Backpacker' Cobra Crane Jib System
- Steadicam Smoothee for iPhone and GoPro
- Stedicam Merlin 2 Camera Stabilizing System
- SR-1500 Dual Grip Shoulder Support Rig
- Revo 33″ Camera Track Slider
3. Have Several High-Capacity, High-Speed Memory Cards
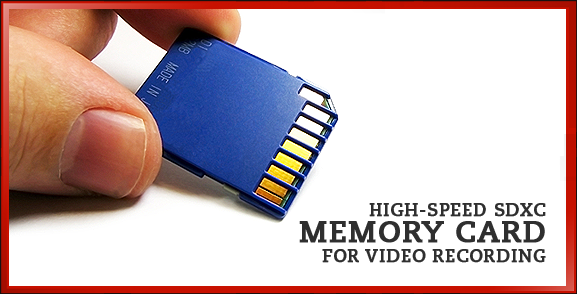
New cameras record video onto high capacity SD memory cards. When recording 4K or full HD 1080p video these can fill up quite quickly, so it’s good to have a few in your collection. The speed of the card is a main factor to look out for – 4K demands the fastest of cards available.
Memory cards have different write speeds or classes, and as a rule of thumb the higher the number the quicker the card will be. The manual for the 4K Panasonic GH4 camera actually specifies that only high speed cards are available for the highest bitrate recording.
I have purchased a no-name brand card in the past, and I regretted it. The more I pushed the camera with filming lots of clips the more it couldn’t keep up and lagged, occasionally stopping in the middle of recording because it couldn’t write data to the card fast enough.
I would always advise going for the highest speed card that your budget can permit! You will likely have to balance between your need for capacity (how many GBs the card has) and the speed. I recommend buying only brand name cards with reviews, such as this 128GB Class-10 Card by Sandisk. This card has the capacity as well as the speed necessary to record 4K!
Tip before you buy: Check and see what the minimum requirements for ‘write speed' for your camera are before you purchase any cards, and make sure the company you buy from has a good return policy.
(I buy all my gear from B&H – and they accept returns very graciously!)
You might also like:
4. Always Record Audio with Your External Microphone
The inbuilt microphones are a nice feature for DSLR cameras and show that the manufacturers are thinking about video users more and more.
However, the quality is more often than not unusable for professional use, as you can read more about in the article here titled “Audio More Important than Visuals“. TL;DR takeaway = good audio is really important if you want to have a successful video.
If your camera has a microphone in jack, a great solution is a top microphone which will attach to the camera via the shotgun microphone. These can either be stereo or shotgun (directional) and are great at recording sound directly in front of the camera as well as ambient background noise.
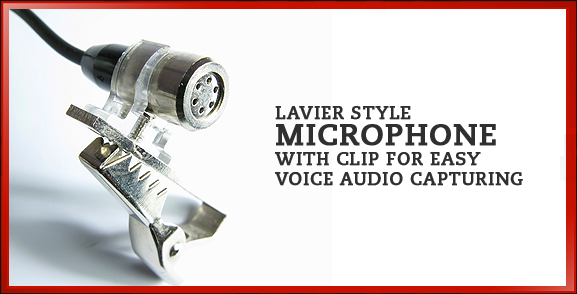
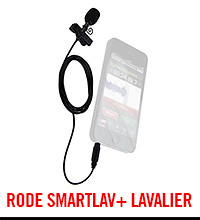
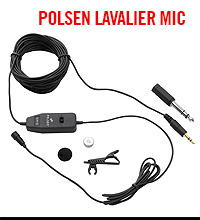
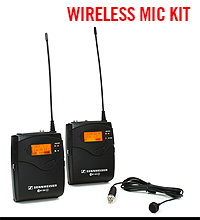
A wired or wireless clip-on lavalier microphone is another great accessory to have. These lav microphones attach to a persons collar or lapel and are the best for recording speech and dialogue.
If your camera doesn’t have a microphone input jack then a solution is to use an external audio recorder and sync the sound up in post-production.
 |
 |
 |
|
|
|
| The SmartLav+ is a quality wired lavalier clip-on microphone that works perfectly with an iOS device without needing an adapter. | The Polsen OLM-10 wired lavalier microphone offers great audio with no noise feedback. If used with smartphone, needs an adapter. |
This Sennheiser lavaier is a wireless microphone set. The EW 112-P G3 is more expensive because due to it's very high quality and being a two-part kit. |
A top tip for this method is to use the cameras in built microphone to record some sound to the video. Even though you will eventually only use the better quality sound from the external recorder, this rough camera sound will act as a guide track to help make synching up the external sound to the video much easier.
You might also like:
- Zoom H4N 2 Channel Portable Audio Recorder – to input 2-channels at once
- Pro SPLITCom Microphone Combiner/Splitter – combine two audio sources into one
- Rode On Camera Boom Mic – an excellent directional camera-mounted mic
- Mic Adapter ECM with Audio Output – used to connect regular mic to iPhone
5. Store Your Camera in a Dedicated Camera Gear Bag
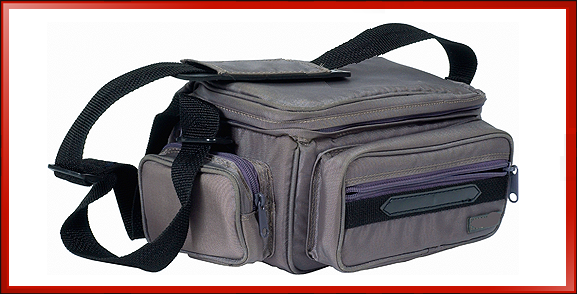
Whether you’ve got a basic collection of kit, or store rooms full of lenses and accessories, you’re going to need a safe and practical way to transport everything you need to shoots.
If you’re shooting solo then there are some great rucksack solutions on the market to look at, designed especially for DSLR videographers.
The main DSLR video rucksack use has a large front compartment that easily holds my camera body, two lenses, lights, microphone and viewfinder. It is very well padded and contains a number of Velcro dividers allowing for complete customization.
I put things I might need quick access to in the top compartment of the bag, such as headphones and shoulder rig.
There are a wealth of small pockets all over the bag for things like memory cards and batteries, and there is a great pocket on the back that fits most full sized laptops.
The main straps are very padded and comfortable to wear over a long shoot day, and you really feel like it has been designed from the ground up with professional video users in mind.
For those needing to transport a lot of kit there are wheelie suitcase solutions available with a lot more space for additional lenses, camera bodies, sound and lighting
Also for those wanting complete piece of mind, particularly when travelling abroad with kit, then there are hard moulded plastic cases available in a number of different shapes and sizes offering the best protection.
Now, onto the next set accessories for your Video DSLR Camera…
Continue reading, onto Part 2 – Top 10 Must-Have Video DSLR Accessories!



Mainly I agree – DSLR producers should have the recommended accessories. But, even more important than accessories is the quality of the video itself – how each video is produced.
Andrew, you absolutely correct!
You get out what time/money you invest in the learning! A good camera in the hands of an newbie video producer with no guidance will not look ‘high quality’, and alternatively, a poor quality camera in the hands of an experienced camera operator with a plan WILL look good!
Learning how to use the equipment listed above will make or break any video for the newbie.
I agree too Andrew it’s the shooter that makes the most difference, not the camera. But you do need equipment and this is avery good list of kit for shooters of any level. I would change a couple things though
#1 Get a good Tripod. I prefer Manfrotto. If you are going to skimp somewhere when putting together a video shooting kit, never skimp on the tripod. Skimp on the camera lenses or something else first. Don’t buy a cheap tripod.
#2. Have a small LED light array. See Jon’s second article https://reeldesigner.com/2012/10/part-2-top-10-must-have-video-dslr-accessories/ for where he talks about LED lights mounted on to a camera. That’s something else everyone should have, and it should be #2 on this list rather than #7 total. Thats just my opinion but I stand by it.
ActFuse, thank you for sharing your thoughts – agreed – a stable shot with decent light can make all the difference!
The third item I’d suggest is a lavier (clip-on) microphone – sound is crucially important as well. Again, thank you for leaving a comment.
Yes, your list of presented equipment are all good. I’m not gonna lie but as of now, I’m using majority of those listed above. Thanks for those helpful suggestions. To make it more clear, I therefore conclude, good skills in shooting videos and capturing images PLUS these equipment is equals to EXCELLENCE.
Andrew, totally agreed. Would love to hear your suggestions…
What aspects should people learning how to shoot video better focus on first to get better?
Canon 7D was used to film an entire chilean movie call “que pena tu vida” filmed full HD 1080p
Claudio, pretty incredible isn’t it – 1080P cameras are inexpensive, accessible and do a fantastic job in the right hands! 4K cameras are now easy to purchase as well, and will further push the quality envelope.
Nice list of video accessories, very detailed and nicely done article. Working great! Keep it up!
Thanks Parampreet – this list will invariably get updated over time as the needs of video marketers and educational video makers change and new equipment becomes available! Check back in the future for new video production equipment and gear that’ll be listed.
Hi,
I am wondering how to connect two lavalier microphone for two shot as the dslr’s has only one input?
Also nice article you did here!
Hi Demetris, yes there is a way to connect two lavalier microphones at the same time. For anyone reading, Demetris is asking how can I have two people in the same shot facing each other, but each will have a lavalier microphone each – two microphones total. How can a person creating a video record both people at the same time when the DSLR video camera only has one microphone input jack?
There are two options to do this, and both are mentioned above but not explained in detail, but I will do that now:
The first option is to use an external audio recorder (such as the Zoom H4N 2-Channel Portable Audio Recorder) or a two input combiner/splitter adapter box (such as the SPLITCom Pro Microphone Splitter/Combiner) – each of these will allow you to take two audio input wires (one from each lavalier microphone) and combine them into one source. I recommend the Zoom H4N the most as you far more control over the input audio levels and the device can record audio as well, however, the Zoom is much more expensive (and the SplitCOM Pro is really inexpensive) – depends on needs in the future. The Zoom H4N is an essential piece of gear for any professional looking to continue to do video production.
You will likely need audio cable adapters to be able to use either option with a DSLR, but those can be bought easily and aren’t too expensive (and can be used for other projects in the future too). I hope that helps – let me know if that helps, and if you have any further questions Demetris!